“It’s a CARROT Cake”
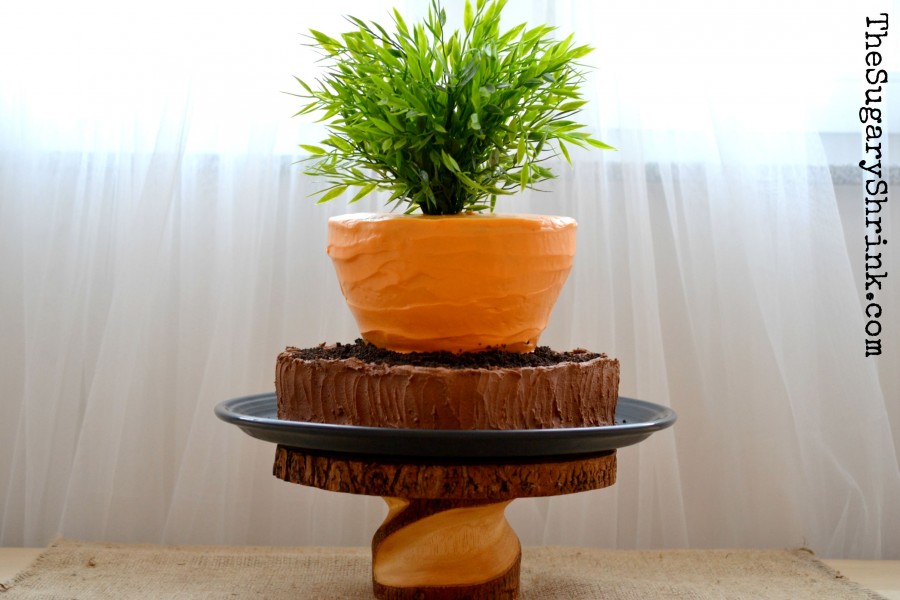
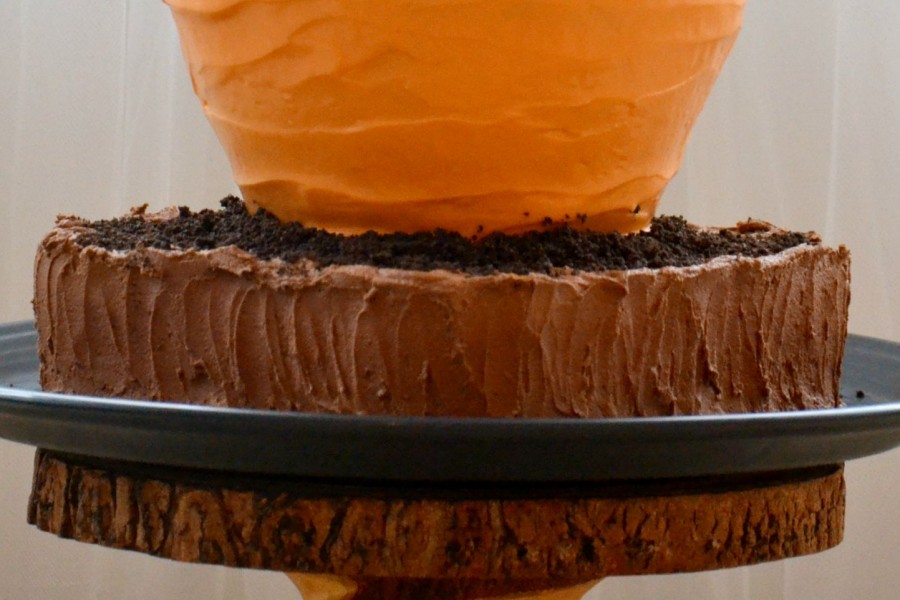
Bottom tier: Single-layer Chocolate Cake, Chocolate Fudge Frosting, Crushed Oreo Cookies
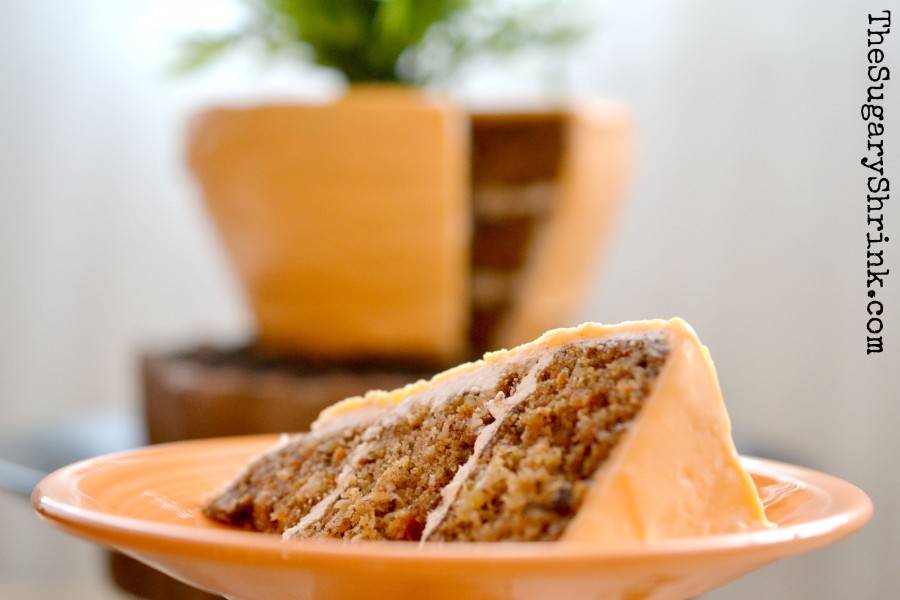
Top tier: Triple-layer Carrot Cake, Vanilla Cinnamon Buttercream Filling, tinted Cream Cheese Frosting, non-edible Greenery
“It’s a CARROT Cake!”
I haven’t stopped giggling… every time I take a look at this cake, it simply tickles my funny bone.
The idea came to me earlier this week when I could feel Fall in the air. It’s chillier in the mornings and it’s been overcast all week. The wind is stirring the golden leaves on the trees near our home and as I watch them float to earth.. “wow, seasons are changing faster these days.”
So, what kind of cake is an autumn cake? First thought: Apple. Pumpkin. Carrot. “Oh, wouldn’t a carrot-shaped cake be fun?” As I thought about this, I just couldn’t see myself making a carrot laying on its side. “But, …what if …. that carrot was still in the ground?”
This build is all about scale. I started with an 8″ to 6″ round cake in need of a base that was big enough to support it both physically and visually. Every step of construction was questions, answers, and order of operations. Here’s how it I put this one together.
First, let’s bake some cakes.
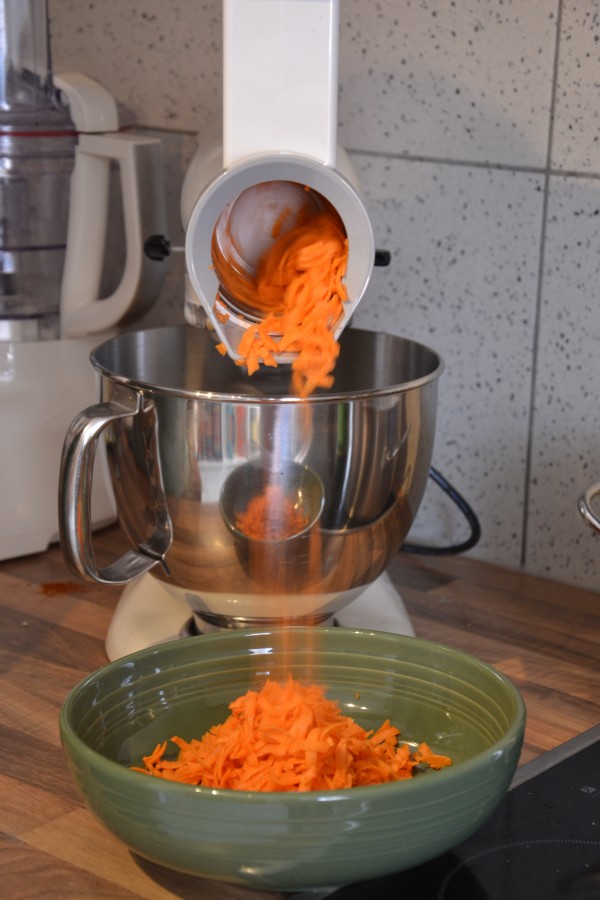
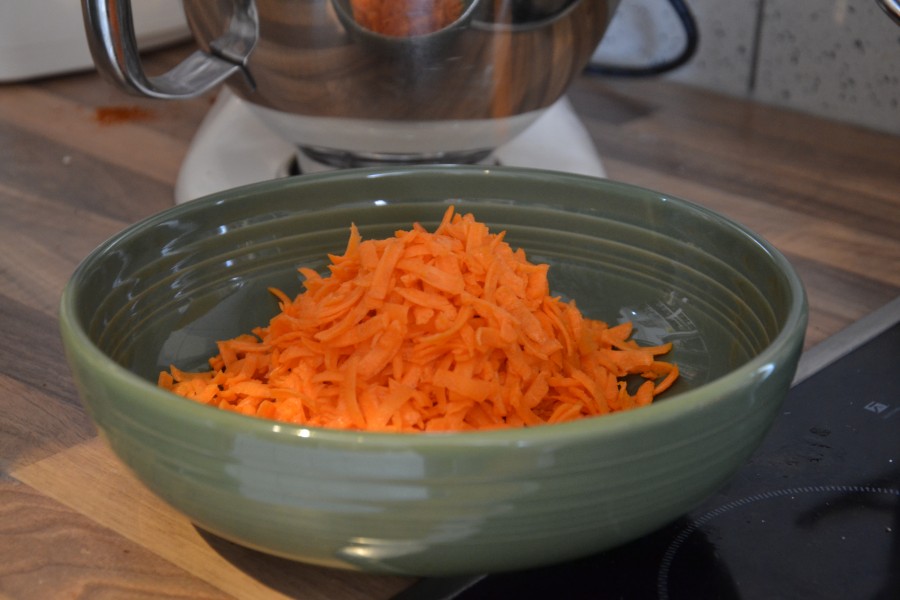
Carrots always seem like the most labor intensive component of this recipe, but that really isn’t the case. I love how my KitchenAid mixer and Homer Laughlin Fiesta Dinnerware work so well together. It’s like they’re BFF.
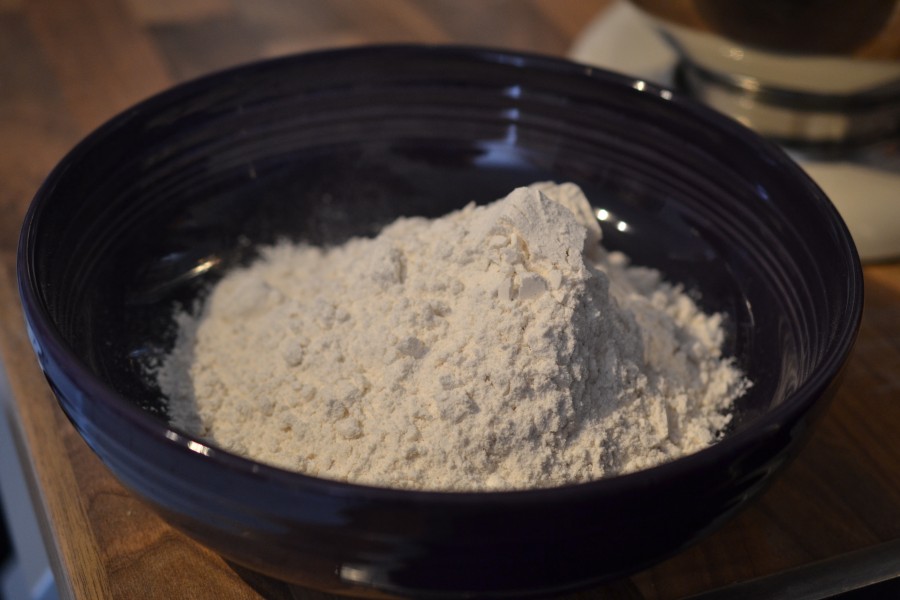
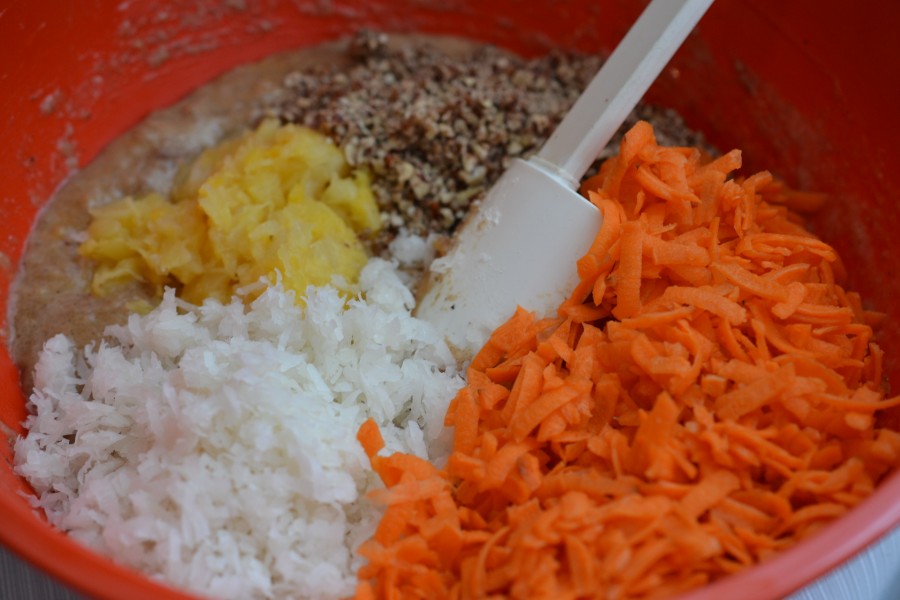
I mixed together the dry ingredients.
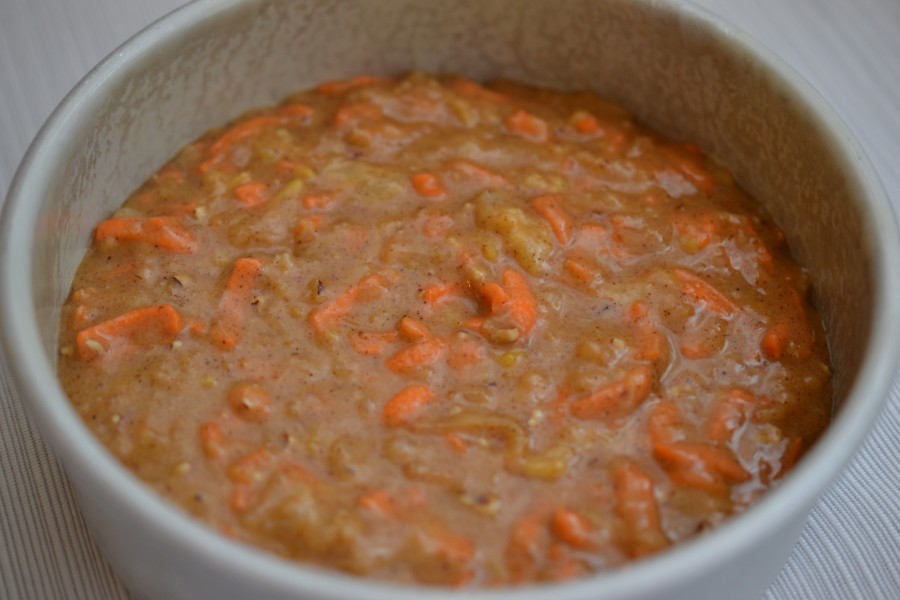
Then hand-stirred all the ingredients together. The natural sweetness of the carrots, pineapple, applesauce, and coconut keep the sugar content reduced. And, these ingredients keep this cake incredibly moist.
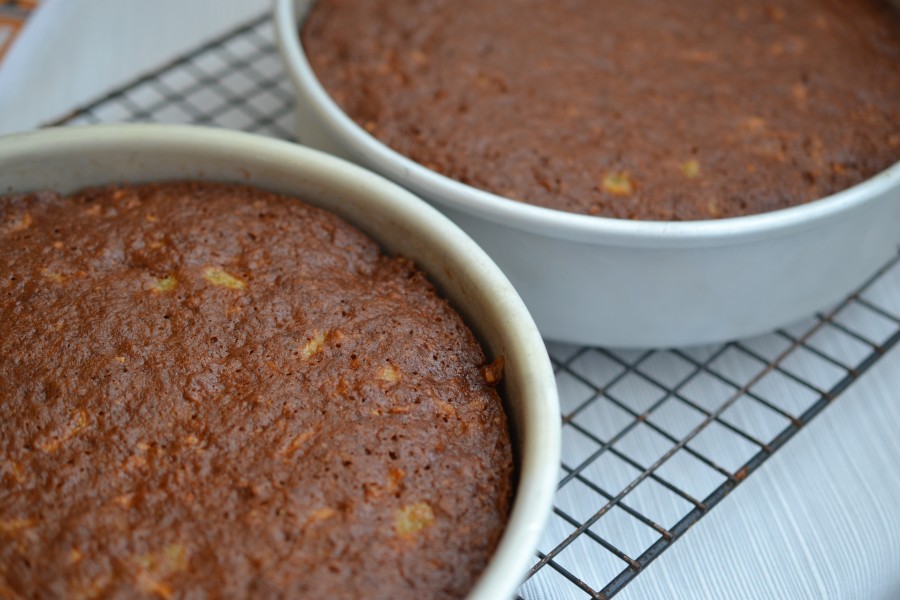
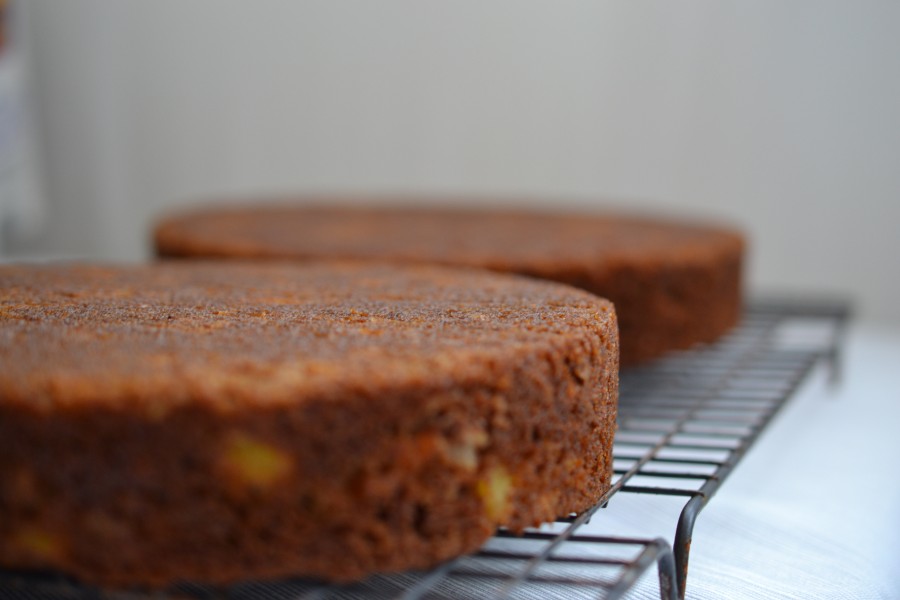
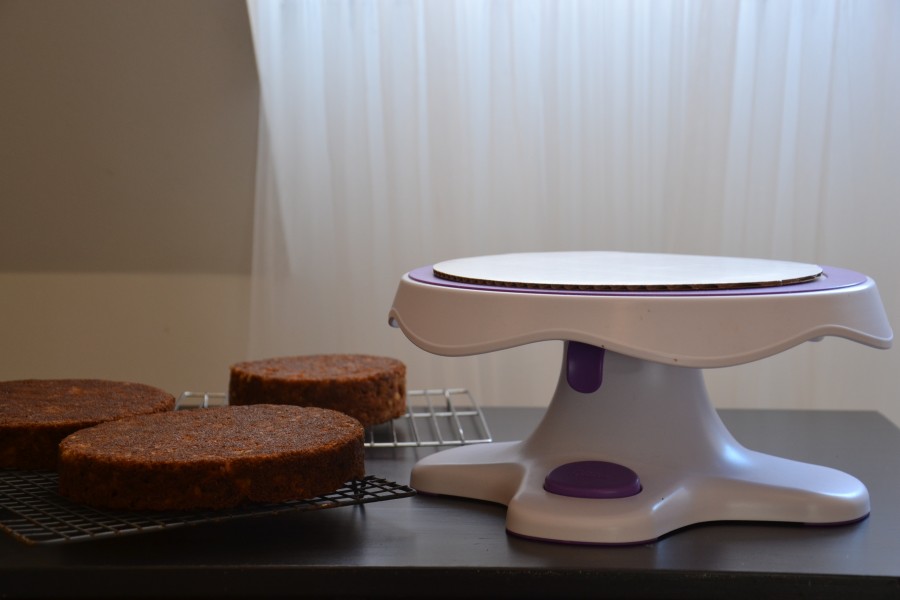
I baked two 8″ rounds and one 6″ round for the carrot.
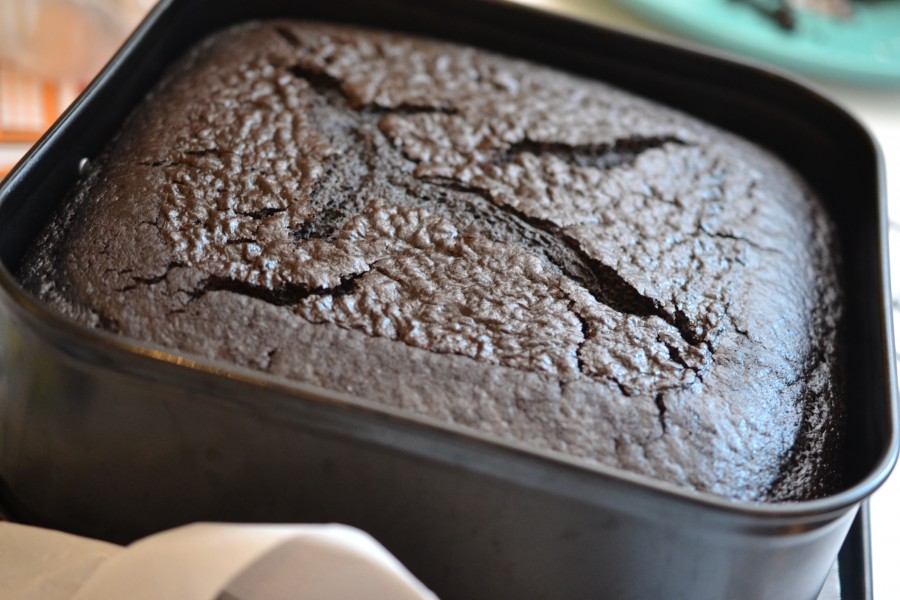
While the Carrot Layer Cake cooled, I baked the base cake.
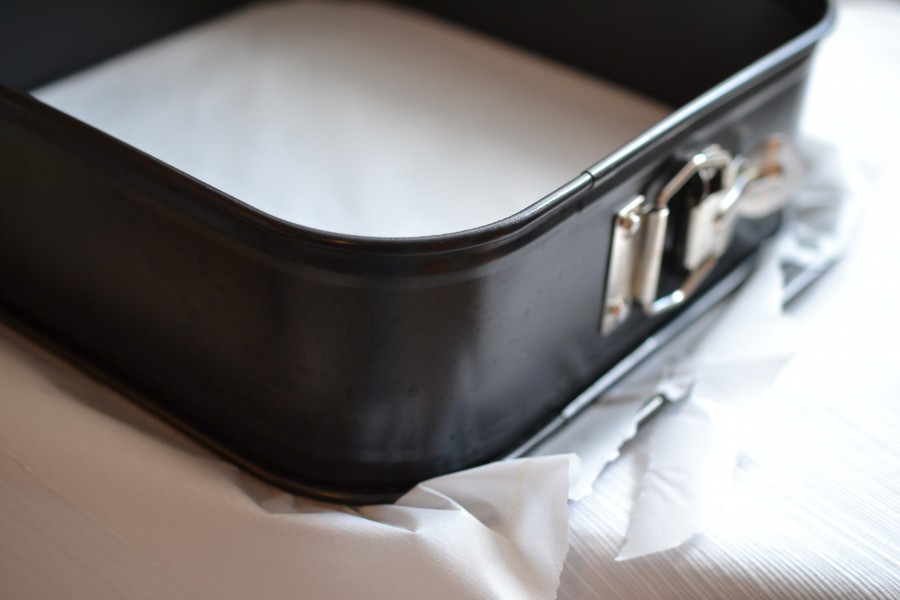
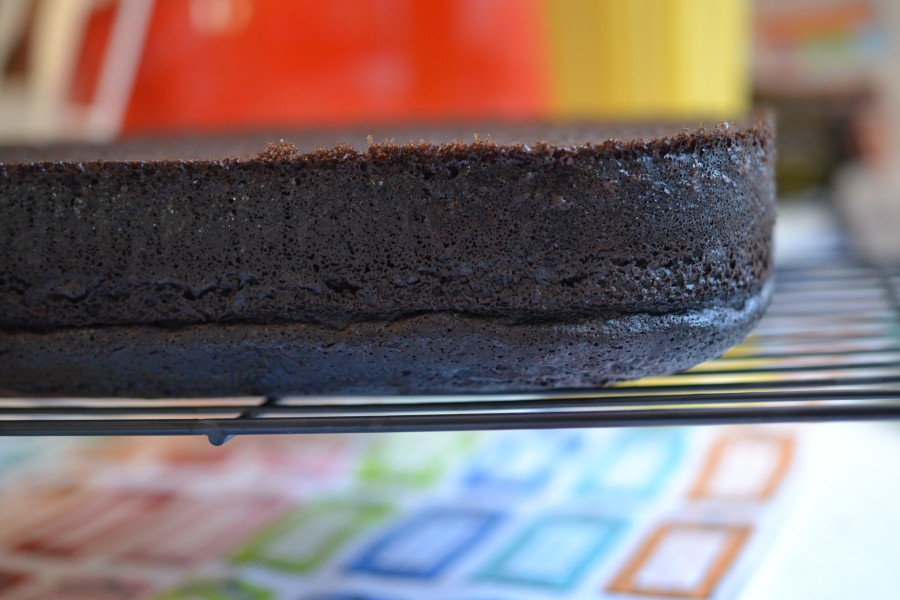
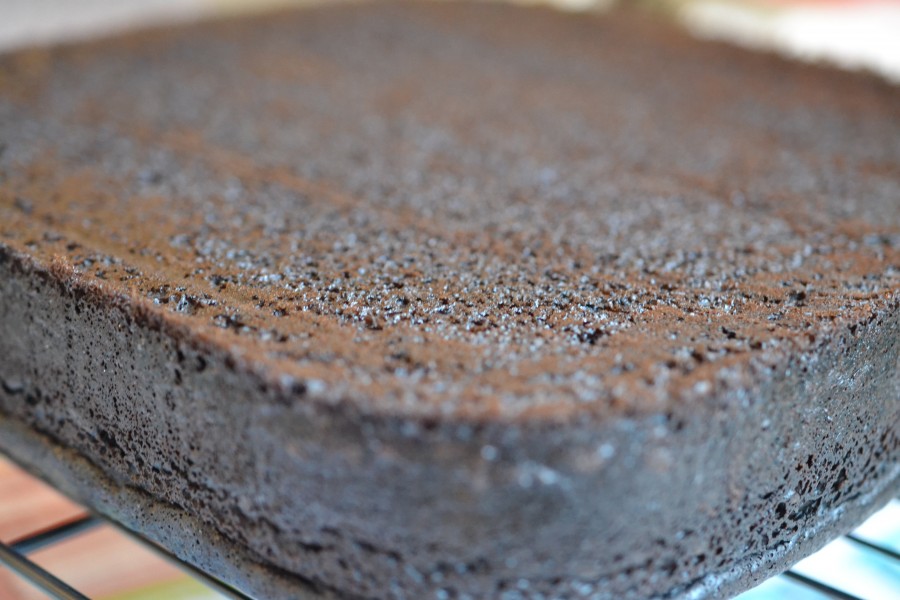
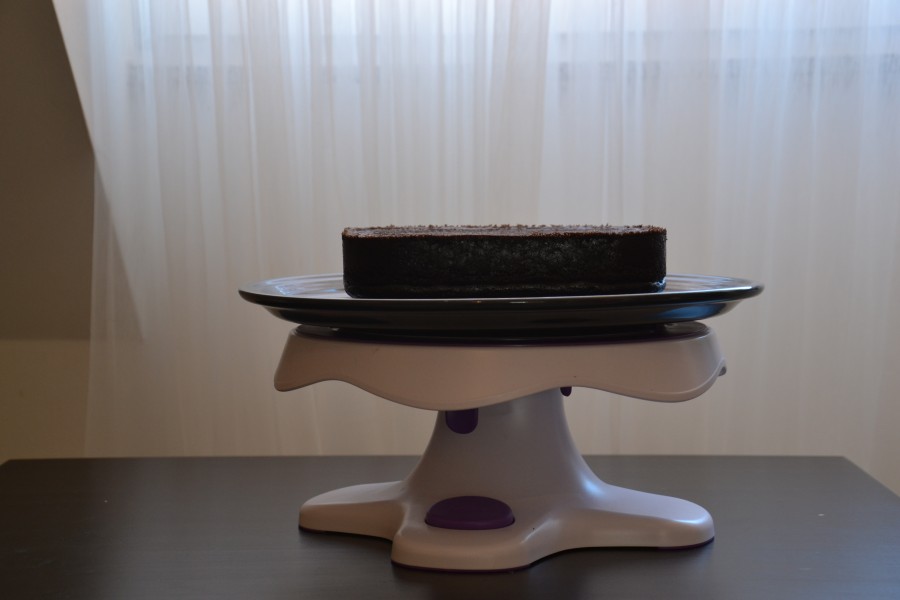
The entire recipe of my Chocolate Layer Cake is in this single-layer of cake. Deliberately I baked a square to offer a different shape to the build. It’s a 9″ x 9″ spring form pan. I treated the sides with non-stick cooking spray and used parchment paper across the bottom.
With both cakes completed and cooled, it was time to put everything together.
This is the part that always makes me nervous. I don’t know what I’m doing and nearly frozen with fear. The part of me that doesn’t want to make a mistake holds me back and the creative part of me has to force the movement. Once, things are under way – it’s cool.
Getting going is tough. I really don’t want to fail. And, I know it’s part of growing.
Off we go….
First, build a base.
I needed to have a large cake plate or cake stand to support the weight of the cake as well as offer visual balance. The perfect choice was my Fiesta Dinnerware 15″ Round Baking Tray in Slate… this beast is completely amazing. The color blended well with the idea of ‘garden’ and easily supported the weight of two full cakes.
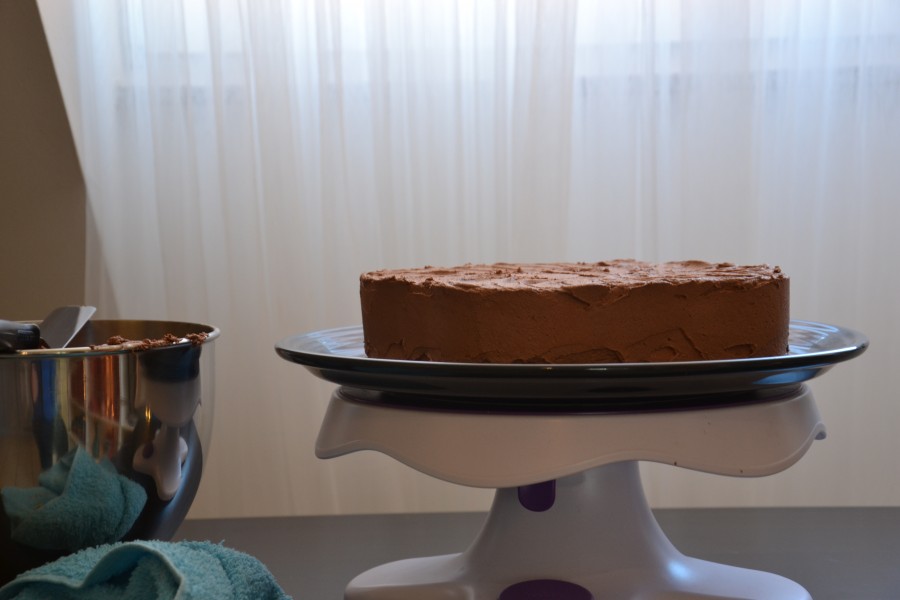
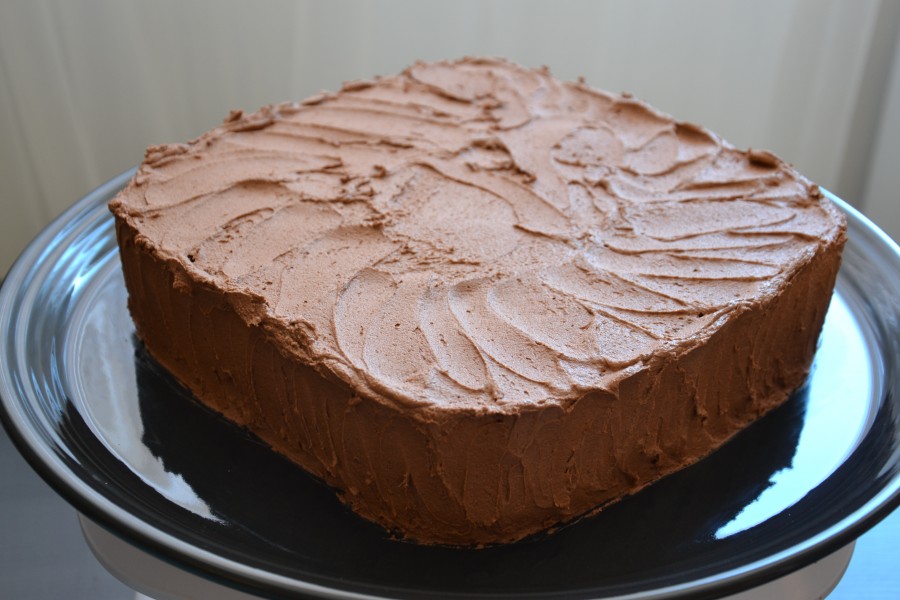
I loved the rustic-ness of the Chocolate Fudge Frosting.. there isn’t anything smooth about the earth in a garden.
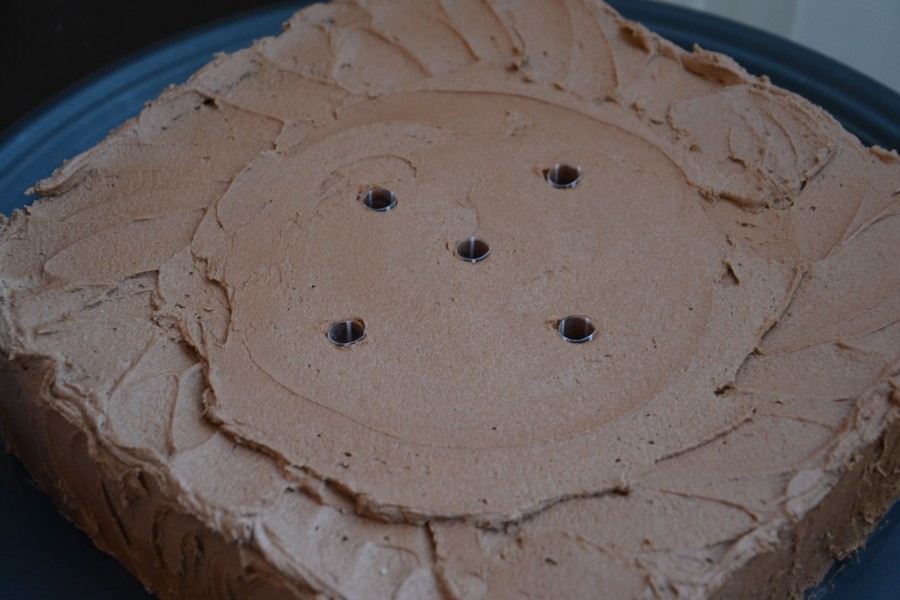
In order to give the cake the best possible infrastructure for support, I placed 5 bubble-tea straws for dowels within the size of the cake board at the base of the carrot.
The 6″ cardboard cake round beneath the 4″ carrot helps distribute weight. By displacing the load and having support beams in place, the carrot cake was not at risk for sinking.
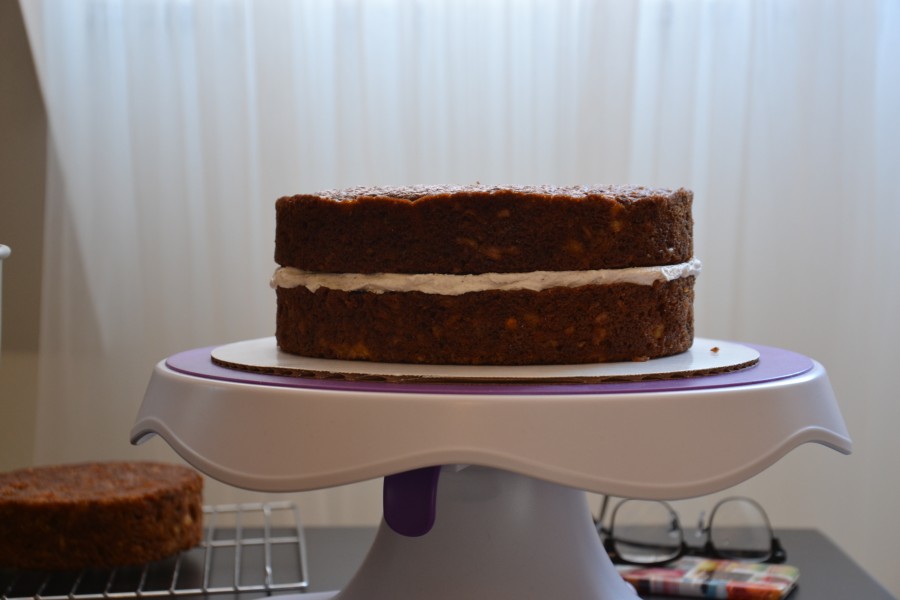
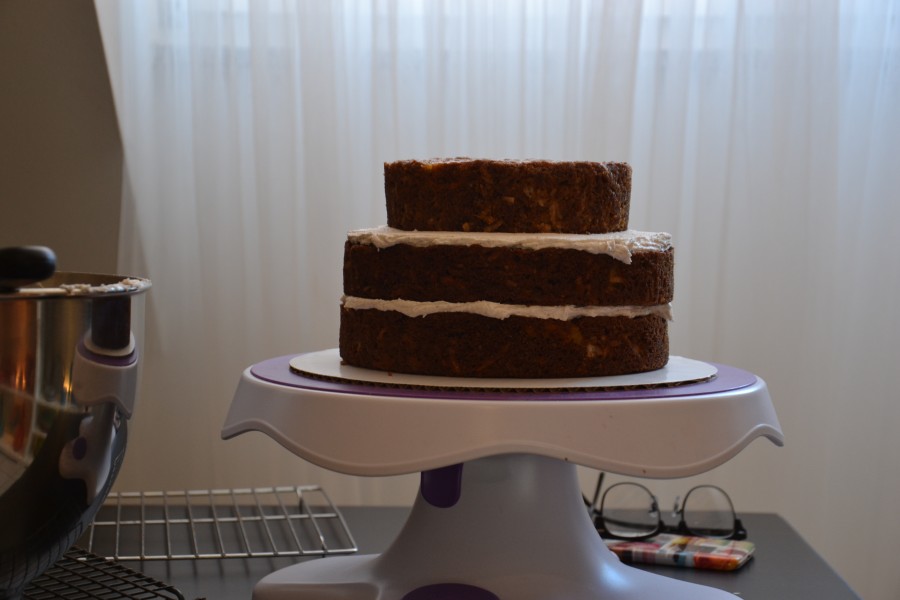
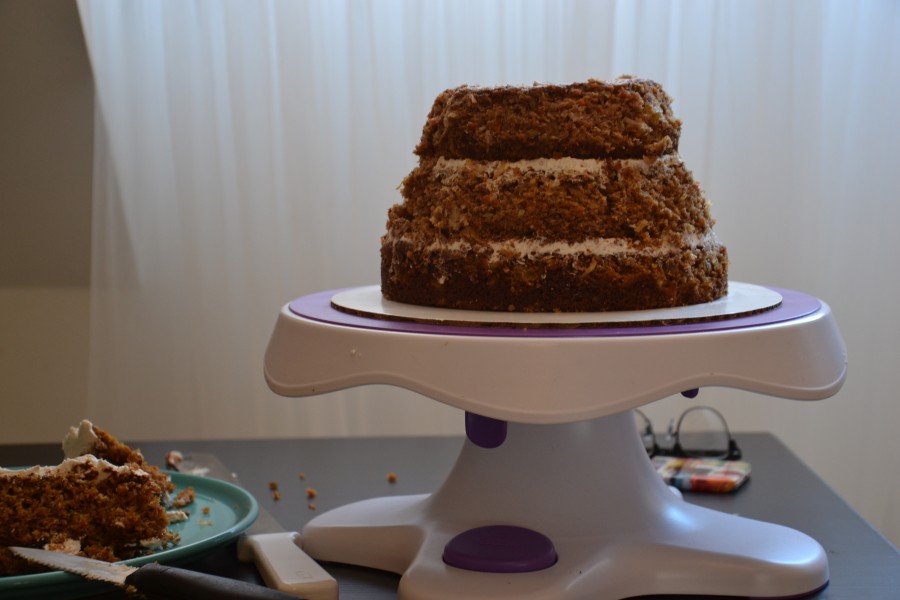
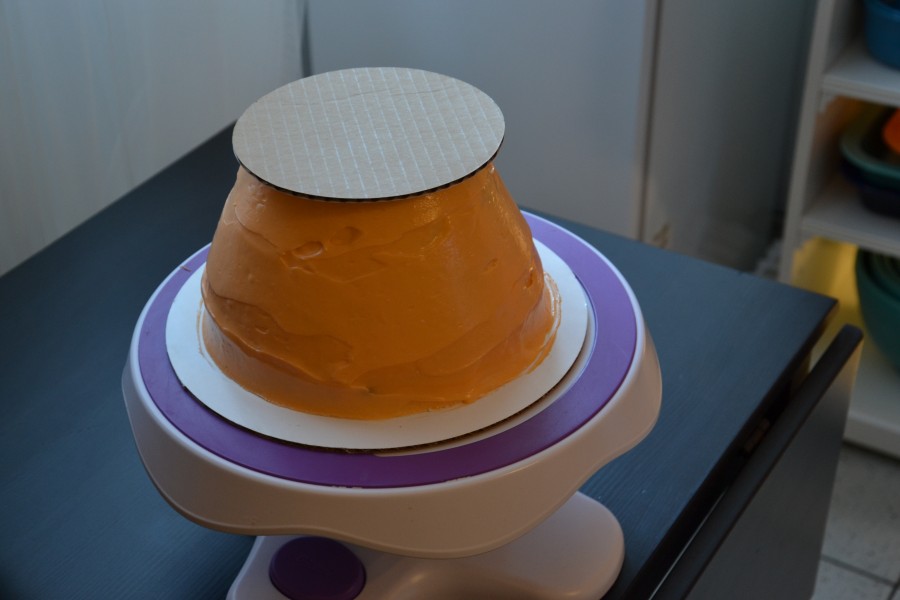
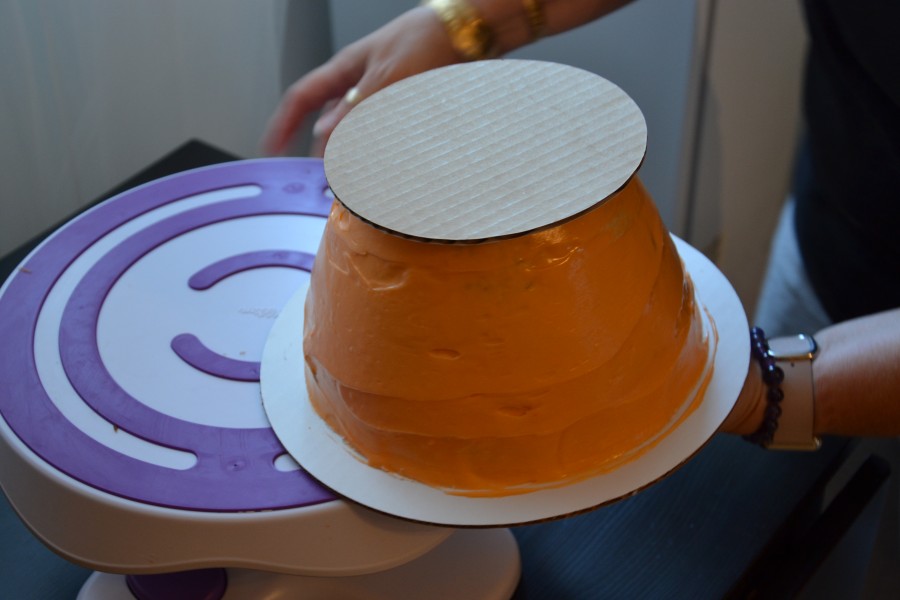
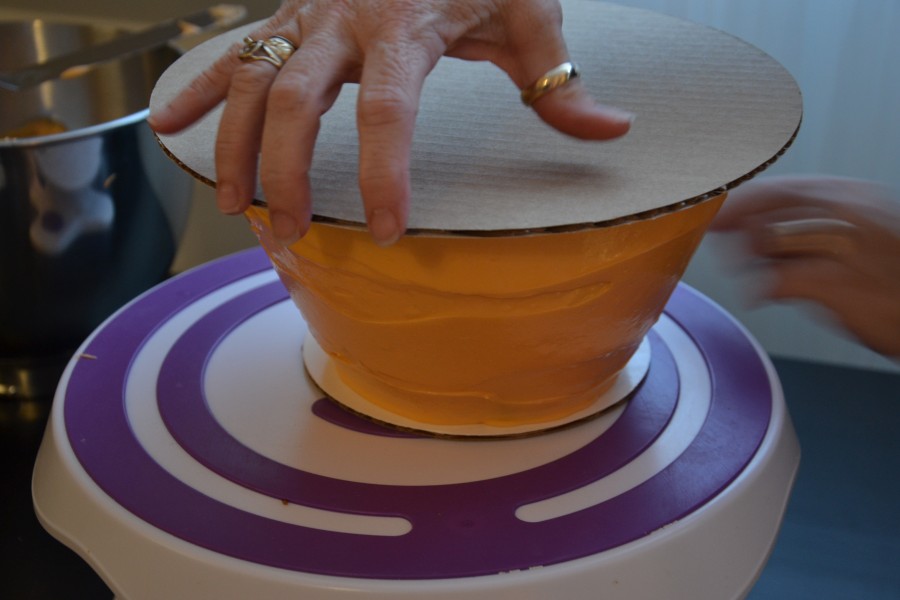
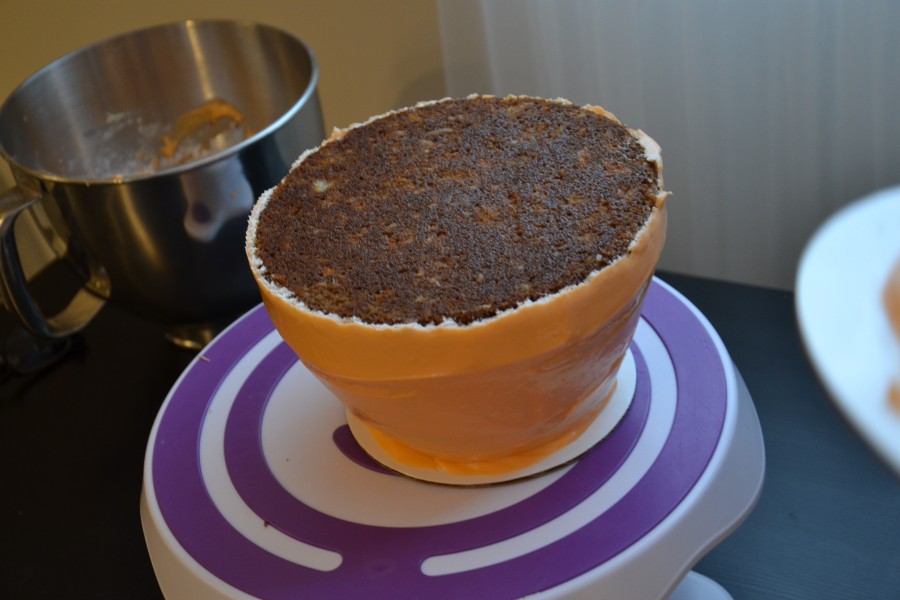
From the moment this idea popped up, I knew I would have to build the carrot cake upside down, then flip it right side up. Having never done this, I wasn’t sure what to expect.
Using a very stiff Vanilla Cinnamon Buttercream helped ensure each layer was well supported and sturdy. The last thing we needed was a middle layer of carrot cake slip sliding away.
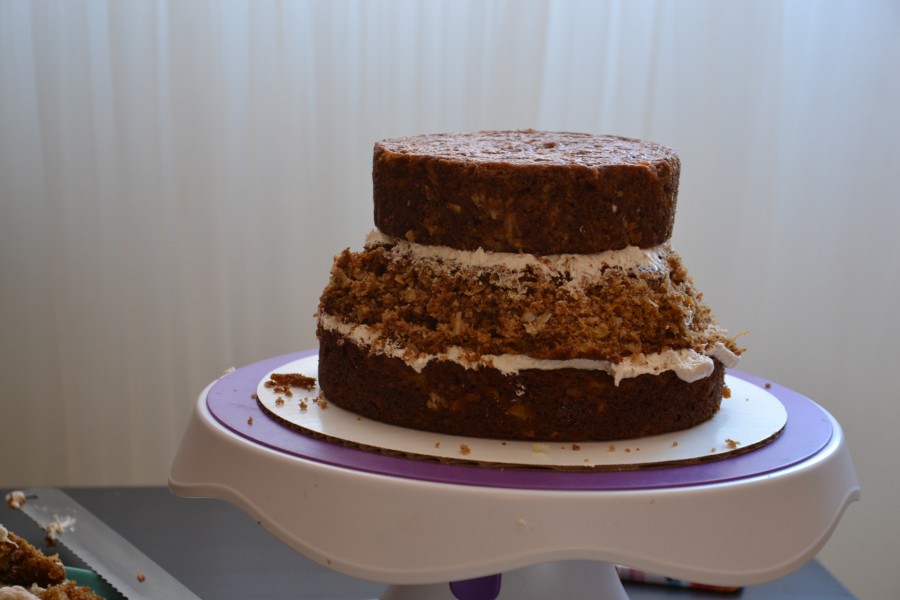
Once the carving begins, there is no turning back. I mentally drew a line from the widest part of the carrot to the narrowest…then drew that line with my finger…. then placed a few buttercream markers… then picked up a serrated knife.
“Hey!! Not so bad.” I was happy with this result. It’s not perfectly even all the way around, but close. Besides, carrots aren’t perfectly shaped either.
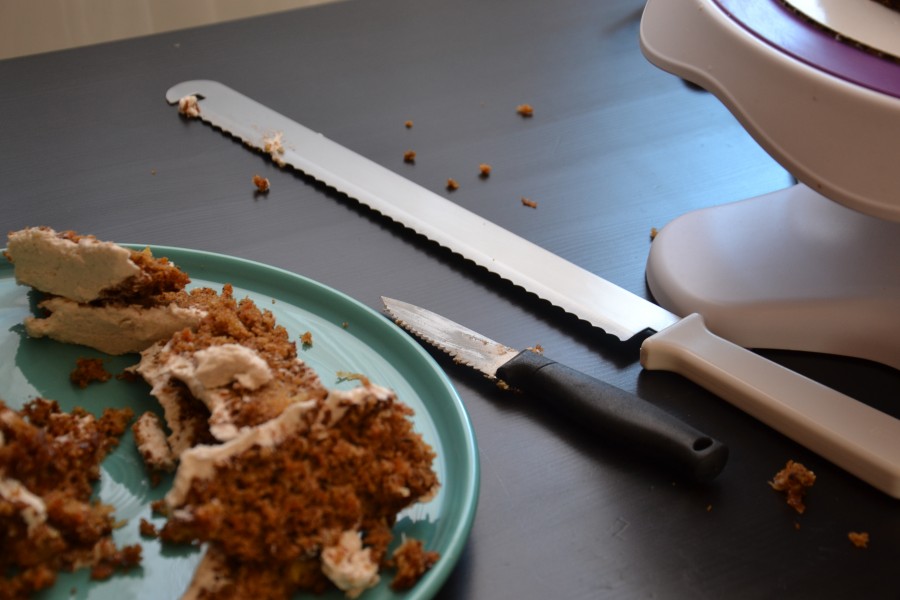
These are my two carving knives. I think I need an in-between size!
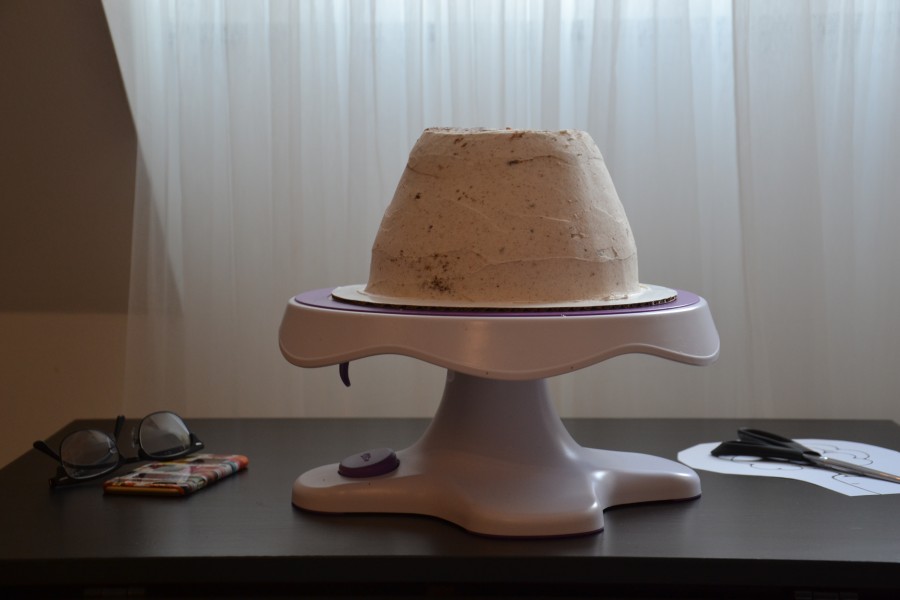
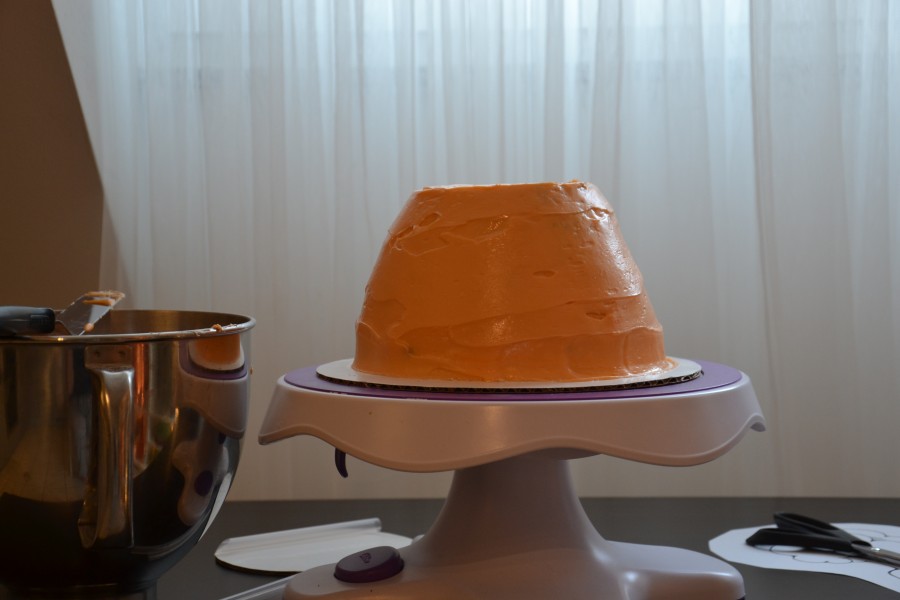
Next, it was the crumb coat and time to set up in the fridge.
Despite the heavy-duty buttercream, I doweled this cake in the center through all three layers.
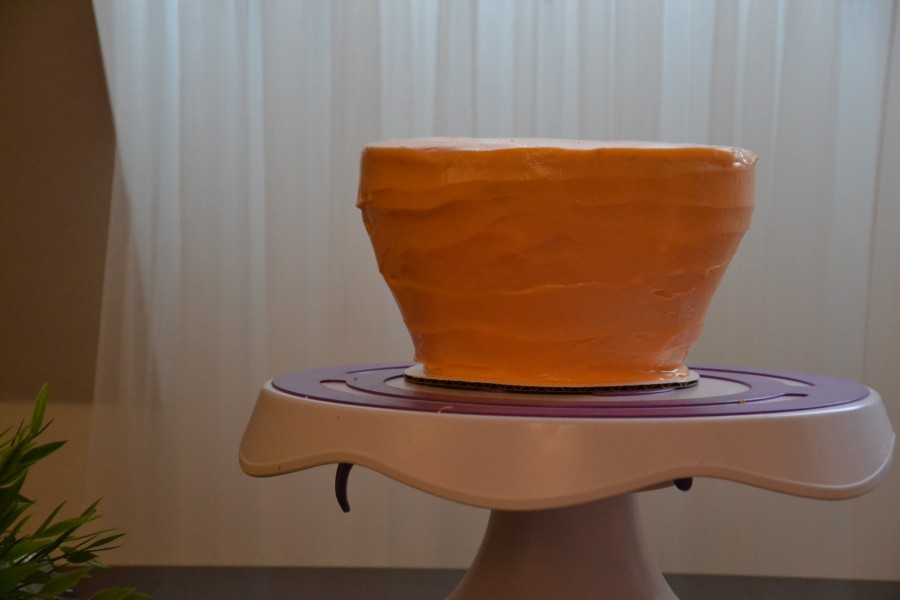
I love Cream Cheese Frosting with Carrot Layer Cake… and tinted orange doesn’t change the yumminess!
I’ve been working to get to this point… will everything stay together?
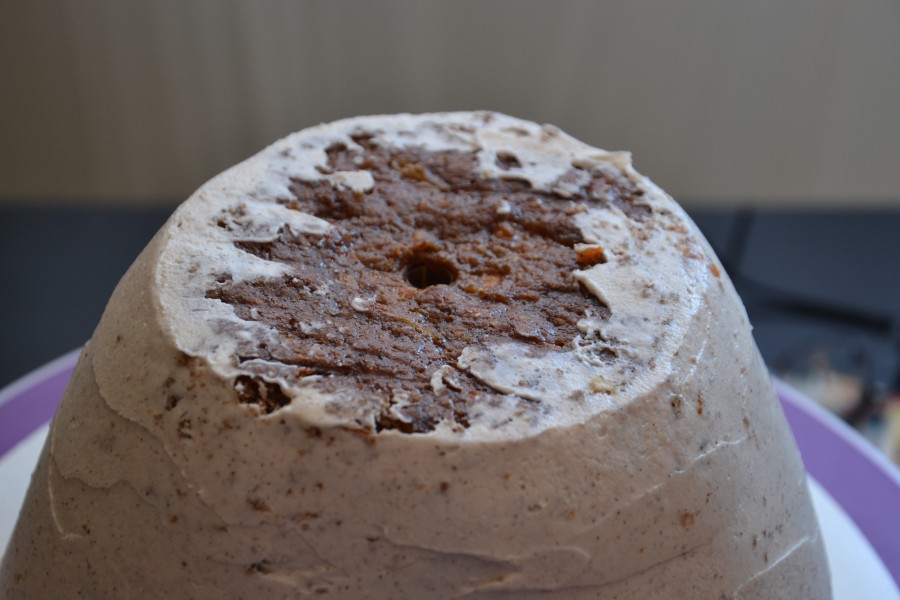
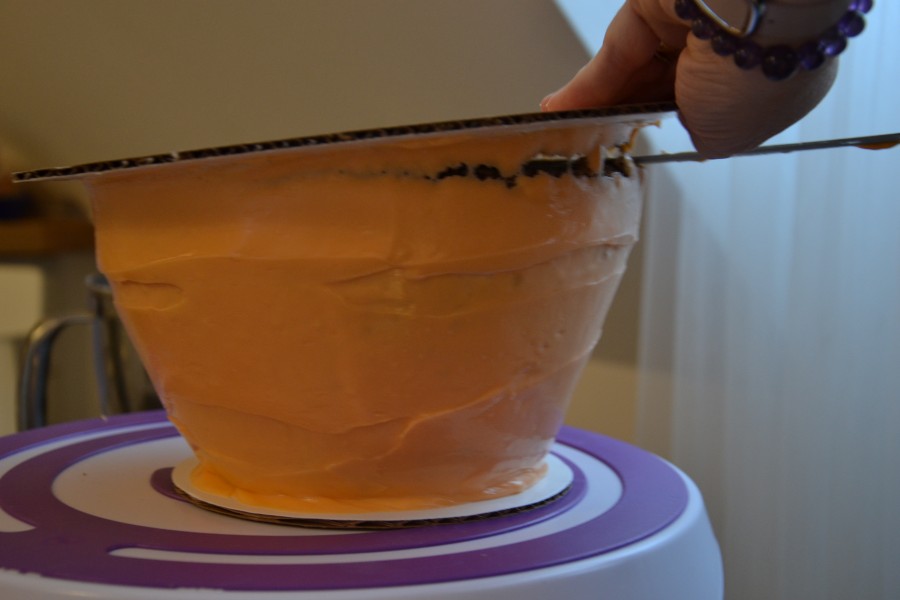
I edged in a spatula to break the seal with the cake board.
Super. It couldn’t have gone better. Time to finish the frosting and top the cake.
Originally, I was thinking a construction paper cartoonish cut out for the green sprigs. I bought the construction paper and promptly lost it. You ever do that, too?
Then I considered vegetable tops… fennel, celery, carrots. The produce market in our building – out of all leafy vegetables except broccoli. Hmmm…
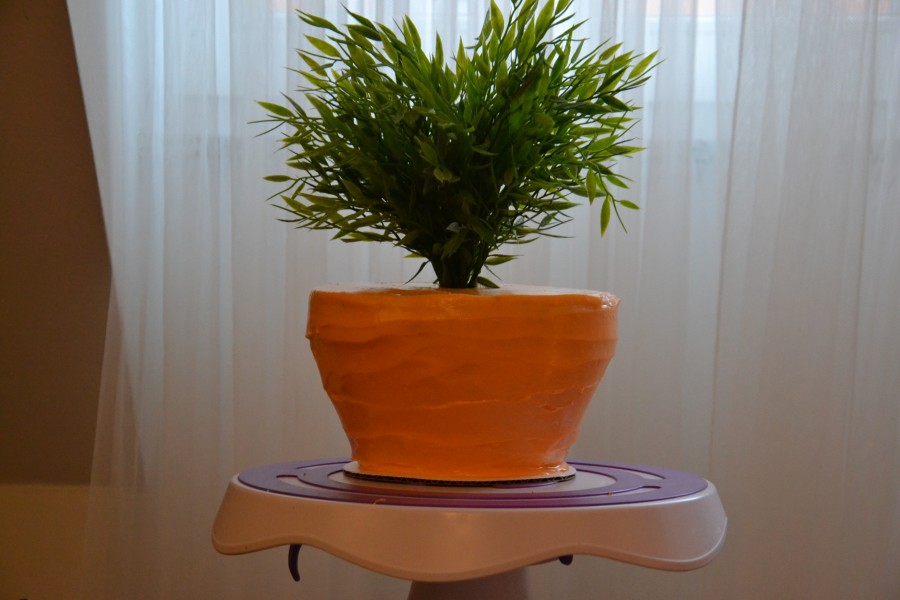
So, I took a look around the apartment. Oh yes. That amazing, plastic greenery from Ikea needs to be deconstructed and blanched.
After placing the carrot cake on top of the chocolate cake, I covered the white cake board with pulverized Oreo cookies. It’s an amazing and tasty “dirt” and a terrific transition between tiers.
I placed the entire cake on one of my favorite cake stands/tree stump. Then staged the photo on a burlap bag.
The photo shoot was very quick – I couldn’t think of any other way to photograph a CARROT Cake without bringing in hay bales and over-sized watering cans.
Finally, the slice pic. When I’m building and designing cakes, I’m using actual cake that ‘ve baked myself. I want the flavors to be yummy and the cake to look nice. Indeed, this cake was both.
I’m grateful for my life partner and his support of this idea. He’s pretty amazing.
I’m grateful for sobriety and the laughter I enjoy.
I’m grateful for our people and the relationships we share.

